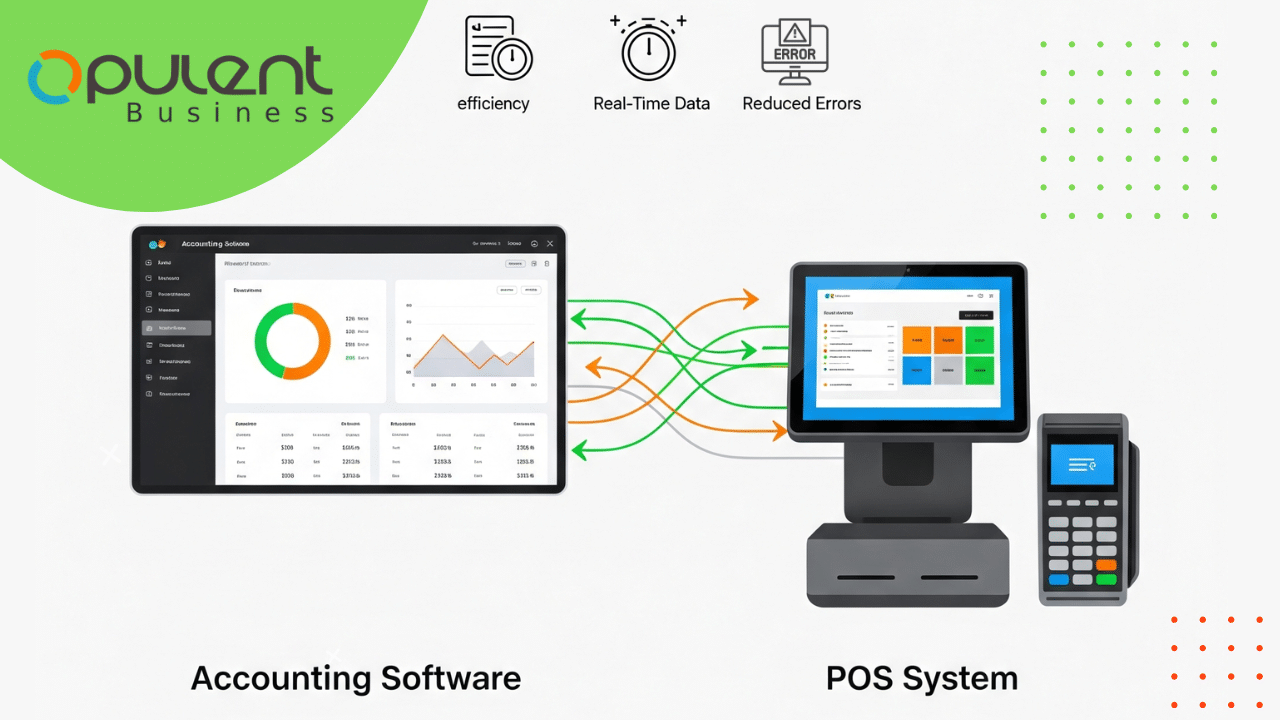
Integrate accounting software and POS systems, and you’ll instantly reduce manual work, eliminate double entries, and get a clearer view of your business finances. Yet many businesses still run these tools in isolation—the POS handles daily sales, and the accounting software gets updated later (if at all).
The gap between those systems creates problems: delayed reports, tax filing errors, mismatched data, and lost time.
A clean, simple integration solves all of that. Here’s how to do it in six practical steps—without unnecessary tools, tech confusion, or workflow disruption.
Step 1: Take Stock of Your Current Setup
Before you integrate anything, review what you’re working with.
-
What POS system is running at your counter or tables?
-
What accounting software are you using for billing, taxes, and reports?
-
Do they already have built-in integration support?
Some setups already offer plug-and-play connectors. In other cases, you may need to use third-party tools or consider switching to accounting software designed with POS integration in mind.
If you’re not tied to a legacy system, using something flexible like OpulentBiz — which is built with seamless POS connectivity in mind — can save time and technical overhead down the line.
Step 2: Identify the Data That Actually Needs to Sync
Not every detail from your POS needs to end up in your accounting system. The integration should be lean, with only essential data syncing automatically. At a minimum, focus on:
-
Daily sales totals (broken down by category, if possible)
-
Payment types (cash, card, wallets, UPI, etc.)
-
Taxes collected
-
Refunds and voided bills
-
Discounts and offers applied
Keeping the data flow clean avoids confusion later and ensures your financial records stay audit-ready.
Step 3: Pick the Right Integration Path
When you’re ready to connect your systems, you have three main options. The right one depends on the tools you’re using and how complex your operations are.
Built-in POS and accounting integration
This is the simplest route if your POS and accounting platforms are already designed to work together. Many cloud-based systems support this natively.
Example:
Square’s QuickBooks integration lets you automatically sync daily sales, taxes, and payment data—no coding or setup headaches.
Third-party POS integration tools
If your systems don’t connect directly, tools like Zapier, SyncHub, or Automate.io can bridge the gap. They let you automate data flow between platforms like Shopify, Xero, and more.
Example:
Zapier’s POS integration options include workflows that can sync sales data from your POS to your accounting tool in real time.
Custom API integration for POS systems
For more complex or customized setups, a developer can build a direct connection using APIs (Application Programming Interfaces). This gives you full control over what data moves and how.
Example:
If you’re using a custom-built POS or a legacy platform, a developer can use a POS API integration to sync your data securely with your accounting system.
If you’re still deciding on accounting software, this is a good point to explore one that doesn’t need extra plugins or middleware. OpulentBiz, for instance, has direct sync options for POS data, reducing setup time and the risk of breakdowns later.
Step 4: Align POS Categories with Your Accounting Structure
This step is critical and often skipped.
The way your POS organizes sales (e.g., food, beverages, retail) should line up with your chart of accounts. Otherwise, when sales sync into your accounting system, they’ll either land in the wrong place or not show up at all.
Make sure:
-
POS categories match your revenue accounts
-
Taxes collected are mapped correctly
-
Discounts or adjustments don’t break the flow
Some accounting platforms let you set these mappings during setup and adjust them later without needing to rebuild the integration—something to look for if flexibility matters.
Step 5: Run Controlled Test Transactions
Once the connection is live, don’t dump a week’s worth of data into the system.
Start with a few test sales:
-
Regular transaction
-
Discounted bill
-
Voided sale or refund
-
Payment split across two methods
Track how each one shows up in your accounting dashboard. Are taxes reflected correctly? Are categories mapped? Are totals accurate?
Testing like this helps you catch small issues before they snowball.
Step 6: Monitor, Review, and Adjust
After integration, you’ll need to spend a few days monitoring syncs.
-
Check the reconciliation daily for the first week
-
Have a plan in place if the sync fails or data doesn’t show up
-
Watch for timing mismatches, especially across time zones or shift closures
The good news: once the workflow stabilizes, it becomes second nature. You’ll close your books faster, spot inconsistencies sooner, and reduce the risk of year-end surprises.
Conclusion
Integrating your POS and accounting software isn’t just about automation—it’s about gaining better control of your business. When numbers flow cleanly from sales to books, you can make decisions faster, plan smarter, and spend less time fixing avoidable errors.
If your current accounting system doesn’t support this kind of smooth integration, it might be time to upgrade. OpulentBiz is designed to simplify this process—with built-in tools to sync POS data, generate reports, and manage taxes—without requiring third-party plugins or technical deep dives.
